Leveraging the database of Automate can be intimidating, especially for partners who don’t have previous database experience. With the release of our new plugin Database Commander, we wanted to create an introductory guide to using MySQL in Automate, and simultaneously demonstrate the features of the plugin. Please note that you can use any MySQL query editor with the following guide.
We’ve split each item above into its own post, and in this installment, we’re going to look at custom integrations. You can see all our MySQL 101 for Automate entries by clicking here.
Before we dive into MySQL, please note that we provide this content for informational purposes only. While we believe all the commands in this series are safe to run, please do so at your own risk. Automation Theory advises all partners to have good backups and to use a dedicated test environment wherever possible.
Facilitating custom integrations
One of the ideas of relational DB design is that data can be stored in one place and can be referenced with appropriate identifiers when needed. When trying to leverage custom integrations (dashboards, plugins, report suites, etc.) sometimes it can be helpful to add custom tables to the database. Our use case will be Windows 10 version numbers and end-of-life dates (something that you might want to reference in both a monitor and a report and not maintain independent lists).
Update: With the 2021.1 patch normal application accounts don’t have the needed database privileges to create tables, and custom tables need permissions assigned to be accessible via the application. We’ll be updating this content shortly, but for now please note that the commands might not work as expected.
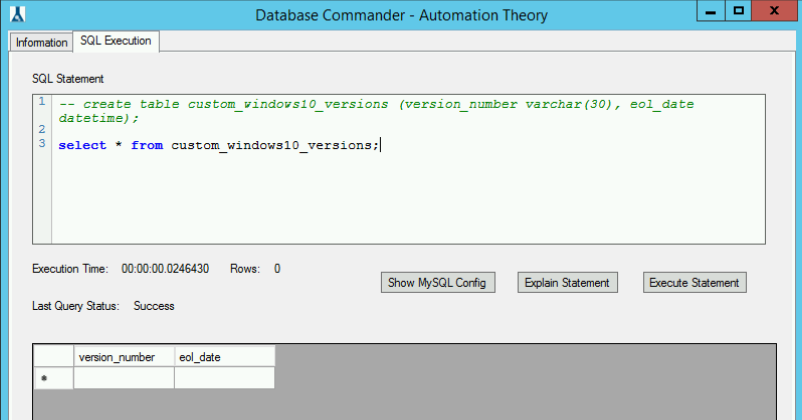
To do this we’ll create our custom table with the statement below. Please note in the Database Commander UI it’s normal to see “Error” in the last query status for operations that don’t return any columns. To verify that the table was created we can do a select * from custom_windows10_versions; and see our column headers.
create table custom_windows10_versions (version_number varchar(30), eol_date datetime);

select * from custom_windows10_versions;
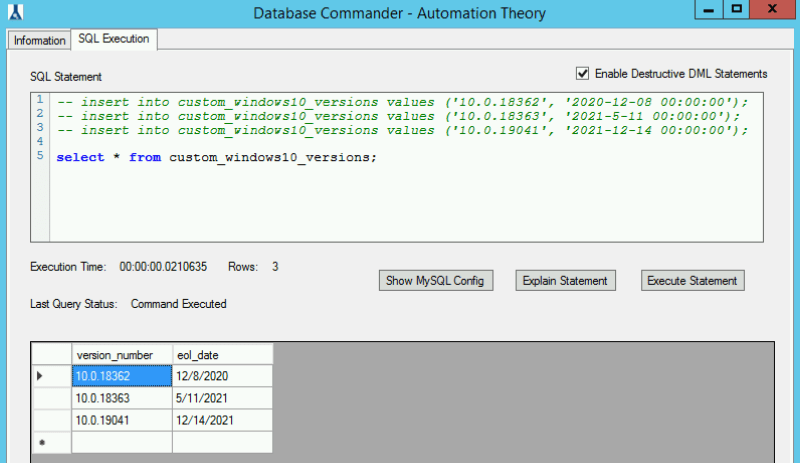
select * command showing that the commented out command above was successful.Next comes inserting our data. This is a potentially destructive write operation, so we’ll need to disarm the double-safety mechanism (enter “write” into the query box, execute, and check the box that appears) before we can execute these statements:
insert into custom_windows10_versions values ('10.0.18362', '2020-12-08 00:00:00');
insert into custom_windows10_versions values ('10.0.18363', '2021-5-11 00:00:00');
insert into custom_windows10_versions values ('10.0.19041', '2021-12-14 00:00:00');
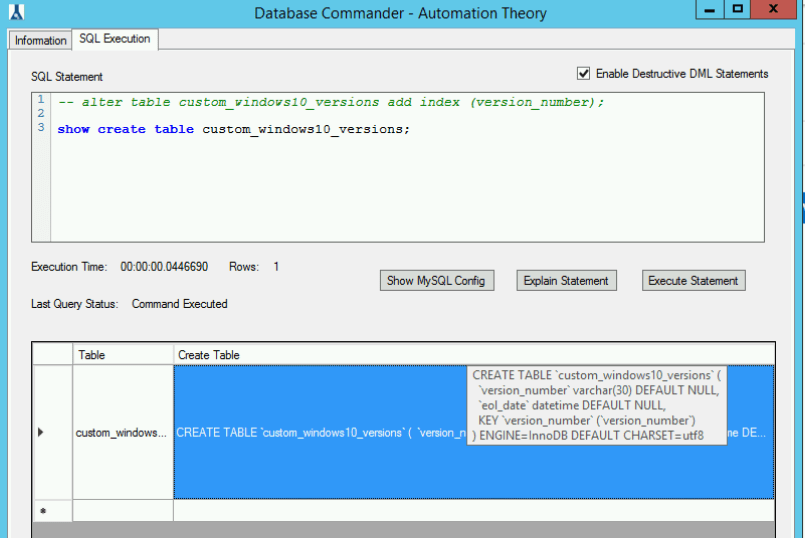
select * after the data rows have been inserted.The last optional step would be to create an index. If you’re running a report and you’re referencing this table in a where clause without an index it’s scanning every row — and that quickly adds up as you add agents. As a general rule of thumb, you should index whatever columns will be used to join or filter on ( version_number in our case, as we’d likely be joining on the version column in the computers table). The statement to add the index is as follows. To verify the index was created we can run the show create table custom_windows10_versions; and we can see that version_number is a key on the table.
alter table custom_windows10_versions add index (version_number);

show create table custom_windows10_versions;

show create table output showing that the alter table command to add the index was successful.In our next installment, we’ll show how to integrate this custom table into a report.
We hope that this installment has been helpful for you. Here at Automation Theory, we’re certified MySQL DBAs dedicated exclusively to the Connectwise Automate software stack. Be sure to check out our integrations and services.
