The Reverse Proxy as a Service appliances make use of the HTTP header X-Forwarded-For to preserve the source IP address of the remote agent. This allows the public IP address of the agent to be correct while still leveraging the proxy security technology. However, IIS might need to be configured to pass this header information to the Automate application correctly. The following instructions cover how to use IIS URL rewriting to pass the data.
Warning: The X-Forwarded-For data is inserted into the database, and therefore it’s a potential source for SQL injection. Our example includes regular expressions to validate the input and make sure it’s coming from a trusted proxy IP address. Please make sure that the regular expressions are implemented correctly.
IIS URL Rewrite Setup #
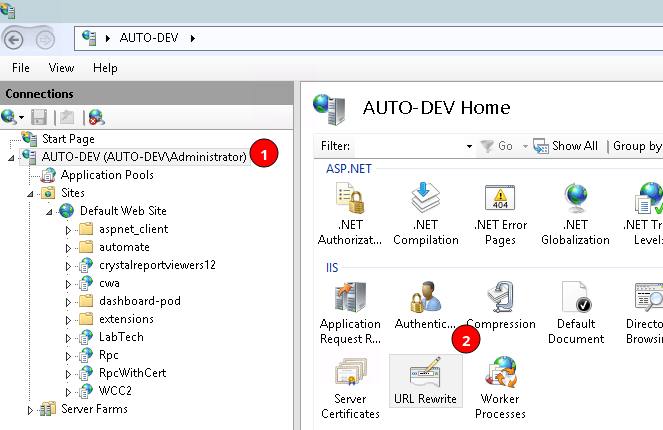
- Open IIS Manager and go to the URL Rewrite feature
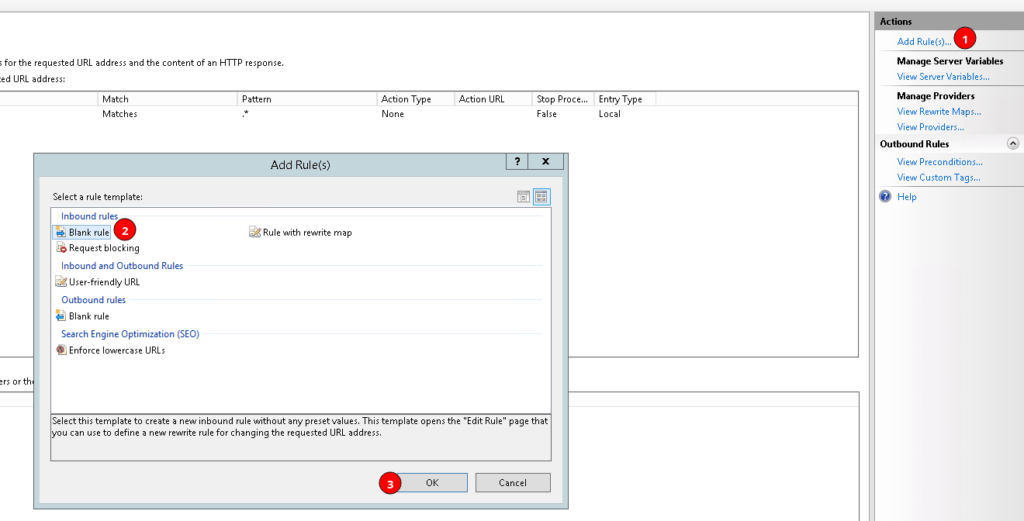
- Click “Add Rule(s)” in the right menu bar, and select “Blank rule” from the pop-up dialog
- Configure the rule as shown in the screenshot below (copy/paste-able items below screenshot):
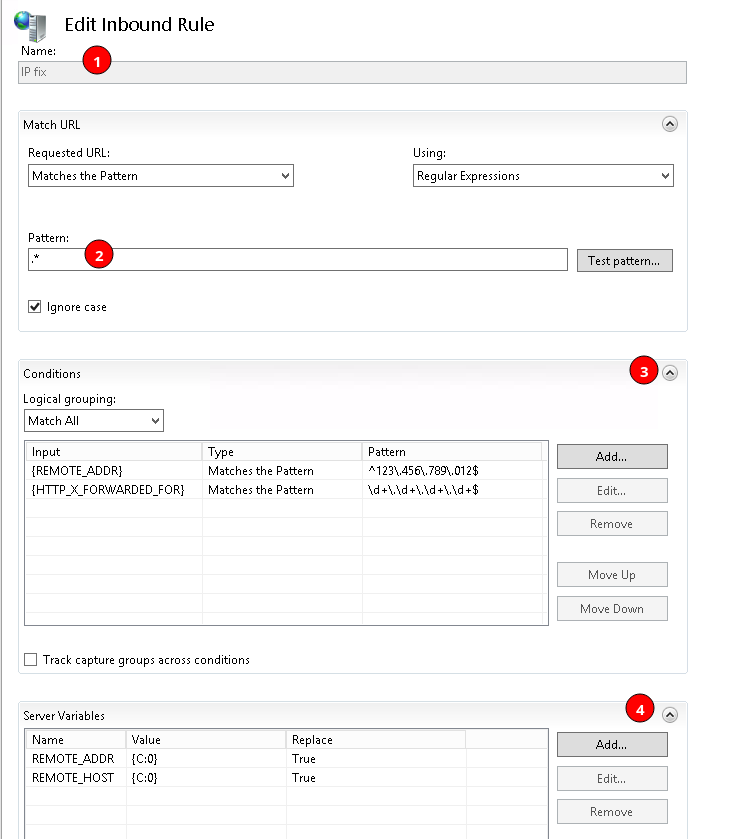
URL Pattern: .*
Condition Input 1: {REMOTE_ADDR}
Condition Pattern 1: ^123\.456\.78\.90$     # Change this to the IP address of the reverse proxy
Condition Input 2: {HTTP_X_FORWARDED_FOR}
Condition Pattern2: \d+\.\d+\.\d+\.\d+$
Variable Name 1: REMOTE_ADDR
Variable 1 Value: {C:0}
Variable Name 2: REMOTE_HOST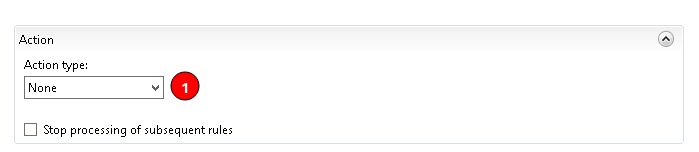
Variable 2 Value: {C:0}- Set the Action to “None”, then click apply in the right menu bar.
- Restart IIS. After that the new values should populate in the database.
If you have any issues with this process please open a ticket with our support team; we are happy to assist you!


